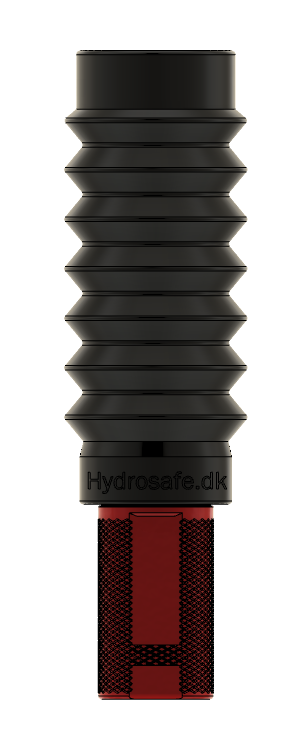
Mounting guide
How to install the Hydrosafe handle.
Which tool to use?
1 x Fork torque wrench with 30 mm forks (min. 80 Nm)
1 x Torque wrench with 27 mm tip(only for mounting where fitting/nipple is required)
Lubricant iht. DIN 51825, to lubricate the thread.
Which tool to use?
1 x Fork torque wrench with 30 mm forks (min. 80 Nm)
1 x Torque wrench with 27 mm tip(only for mounting where fitting/nipple is required)
Lubricant iht. DIN 51825, to lubricate the thread.
Do you have BSP or metric threads?
If in doubt, read more in our thread guide.
1/2" BSP thread
Make sure the parts are clean, free of dirt and ready for assembly. Before mounting, lubricate the thread with grease according to. DIN 51825. Make sure all sealing surfaces are clean and intact.
Assemble the product by following 4 simple steps:
1. Start by removing the existing quick coupling that is mounted on the hydraulic hose.
2. Clean and lubricate the threads of the hydraulic hose.
3. Then fit the handle to the hydraulic hose.
(remember to use a sealing ring between the hose and the handle)
4. Tighten the handle on the hydraulic hose with a fork wrench, as per. the specified tightening torque of 82 nM.
Metric thread (M16, M18 etc.)
Make sure the parts are clean, free of dirt and ready for assembly. Before mounting, lubricate the thread with grease according to. DIN 51825. Make sure all sealing surfaces are clean and intact.
Assemble the product by following 6 simple steps:
1. Follow our Thread Guide to identify which fitting/nipple you need and order your fittings here.
2. Disassemble the existing quick disconnect coupling mounted on the hydraulic hose.
3. Clean and lubricate the threads of the hydraulic hose.
4. Install the correct fitting/nipple on the hydraulic hose and tighten to the specified torque.
5. Fit the handle to the hydraulic hose.
(remember to use sealing ring between hose and handle)
6. Tighten the handle on the hydraulic hose with a fork torque wrench,
according to. the specified tightening torque.


